
I’m definitely not an expert when it comes to knitwear photography, but if you scroll back even a year in my Instagram feed, you’ll see that my photography skills have improved a bit. But, best of all, I spend about 20 minutes taking photos for an entire month with a heck of a lot less stress when I was trying to take photos daily.
Last year, I went on a mission to get better at photography, so I went and spent my hard earned pattern money on a used DSLR camera and some equipment. Low and behold, I took some pretty CRAPPY photos. It turns out better equipment did absolutely nothing for my photography except cause confusion, stress, and a bit of buyer’s remorse.
I totally realize that I could watch a few YouTube videos, and learn about aperture, shutter speed, focus, and all of those other fancy camera settings. But, I frankly didn’t want to (who else is lazy out there?) nor did I have the time -- I needed good photos FAST and EASY. Plus, most of my photos end up on Instagram or as thumbnails on Ravelry, so they need to look good, but they don’t need to as high quality as say a billboard sign need to be.
Then, I realized, the camera on my phone does a pretty darn good job for just about everything I need it to do. My Instagram feed isn’t “perfect” and I could definitely spend more time on it and my photographs, but you know what? I would rather be KNITTING, so that is what I do.
So, I came up with a few tricks that I use EVERY SINGLE TIME I take photos.
1. USE NATURAL LIGHT.
Stop taking photos indoors with your flash. Just stop. I mean it. It won’t work. Your photos will look grainy and they just won’t look like you want them to.
Go out into the great outdoors, or find a spot near a window. I like finding a spot with indirect sunlight -- if I’m squinting, that probably means my photos will look way too bright. I prefer to take photographs on partly cloudy days, so there is plenty of light, but the light won’t be too intense. If it’s super sunny, go to a spot where there is a bit of shade and snap away!
2. USE A PLAIN/CONSISTENT BACKGROUND
Blank space is powerful.
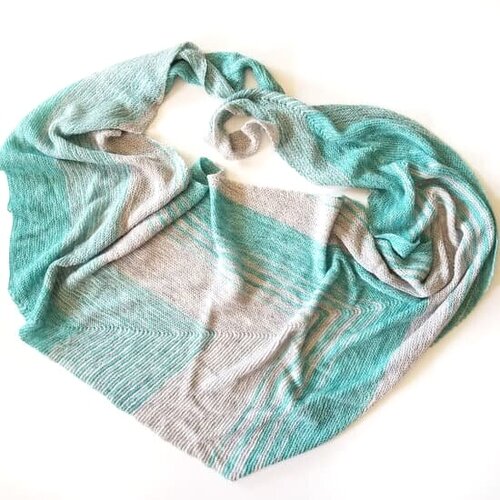
An easy way to take good photos of your knitting is to get a white/light colored background and consistently take photos on it. I use a piece of white foam board (remember science projects growing up? These boards are perfect for cheap flatlays).
I tried to use a black foam board and it was really hard to get the colors to show up like I wanted them to without a lot of editing.
When photographing your knitting on a model or mannequin, I’ve found it is very helpful to have a simple background. Many of my older patterns have complex scenery behind the model, but I’ve found that the scenery needs to be used in moderation so it doesn’t draw away from the real focus -- the knitting pattern. I’m still working on finding this balance between a unique background and having a clean, clear focus on my patterns.
3. CLEAN YOUR CAMERA LENS
I’ve found that when my photos start looking crappy/out of focus, most of the time it isn’t my photography skills -- it’s because there is a sticky fingerprint from my daughter (or me… I probably eat around my phone too much!), right on the camera lens. Clean that sucker off! Your photos will be affected if your lens is even slightly smudged. Don’t forget this step!

4. DON’T TAKE PHOTOS IN THIRD PARTY APPS
Many third party apps (Instagram, Snapchat, Facebook, etc.) allow you to take photographs -- don’t do this if you are going to use the photo in multiple places or if you want to have a high quality photo. Most third party apps take a lower quality photo than the actual camera app on your smartphone.
5. TAP ON THE SUBJECT OF THE PHOTO
I didn’t know this trick for a long time, but if you tap on the person/knitted item/ball of yarn that you are photographing, it’ll help your camera focus on the correct object. This small step helps your camera know where to focus -- it really helps!
BONUS TIP: TAKE LOTS OF PHOTOS!
Back when we had to use film cameras, I totally understand being conservatvie on the number of photos you took.
But now, PHOTOS ARE FREE (beyond the cost of digital storage, which is super cheap nowadays) — so take a million photos!
I promise there will be a diamond in the rough — sometimes it just takes 15…20… 75 photos to find it. Start snapping away with the above tips, and you’ll be amazed at how just a couple of steps will make your photos shine like never before!
ONE LAST THOUGHT ON THE SUBJECT OF PRESETS/EDITING…
Presets are totally up to you. If you take a glance at my Instagram feed, you’ll notice that my photos don’t necessarily have a cohesive “feel”.
Some people choose to use a “preset” which simply adjusts the lighting/shadows/colors of every photo in the exact same way so all of your photos “feel” like they go together. I’ll admit, it looks cool and probably looks more professional than what I’ve created. I’ve tried this before, I’ve even purchased presets for more money than I probably should have.
But, after a couple of weeks, I decided I don’t like using presets for my photos. I like to present my knitting using colors that feel “true” to how I see them in real life. I don’t want knitters to try to recreate one of my patterns using the same yarn I used and not like the colors at all because of a preset I used on my Instagram feed. When I edit my photos, sometimes I might edit the shadows a little, or increase/decrease the contrast of my photos, but the editing I do is to make my photos look true to color.
How about you? Do you like using presets?
I hope these little tips help take some of the stress off taking “Instagram worthy photos”.
Feel free to find me on Instagram or shoot me a message if you have any more tips or tricks that I can share here!

Leave a comment